Authentic Chicken Biryani (Bangladeshi Style)
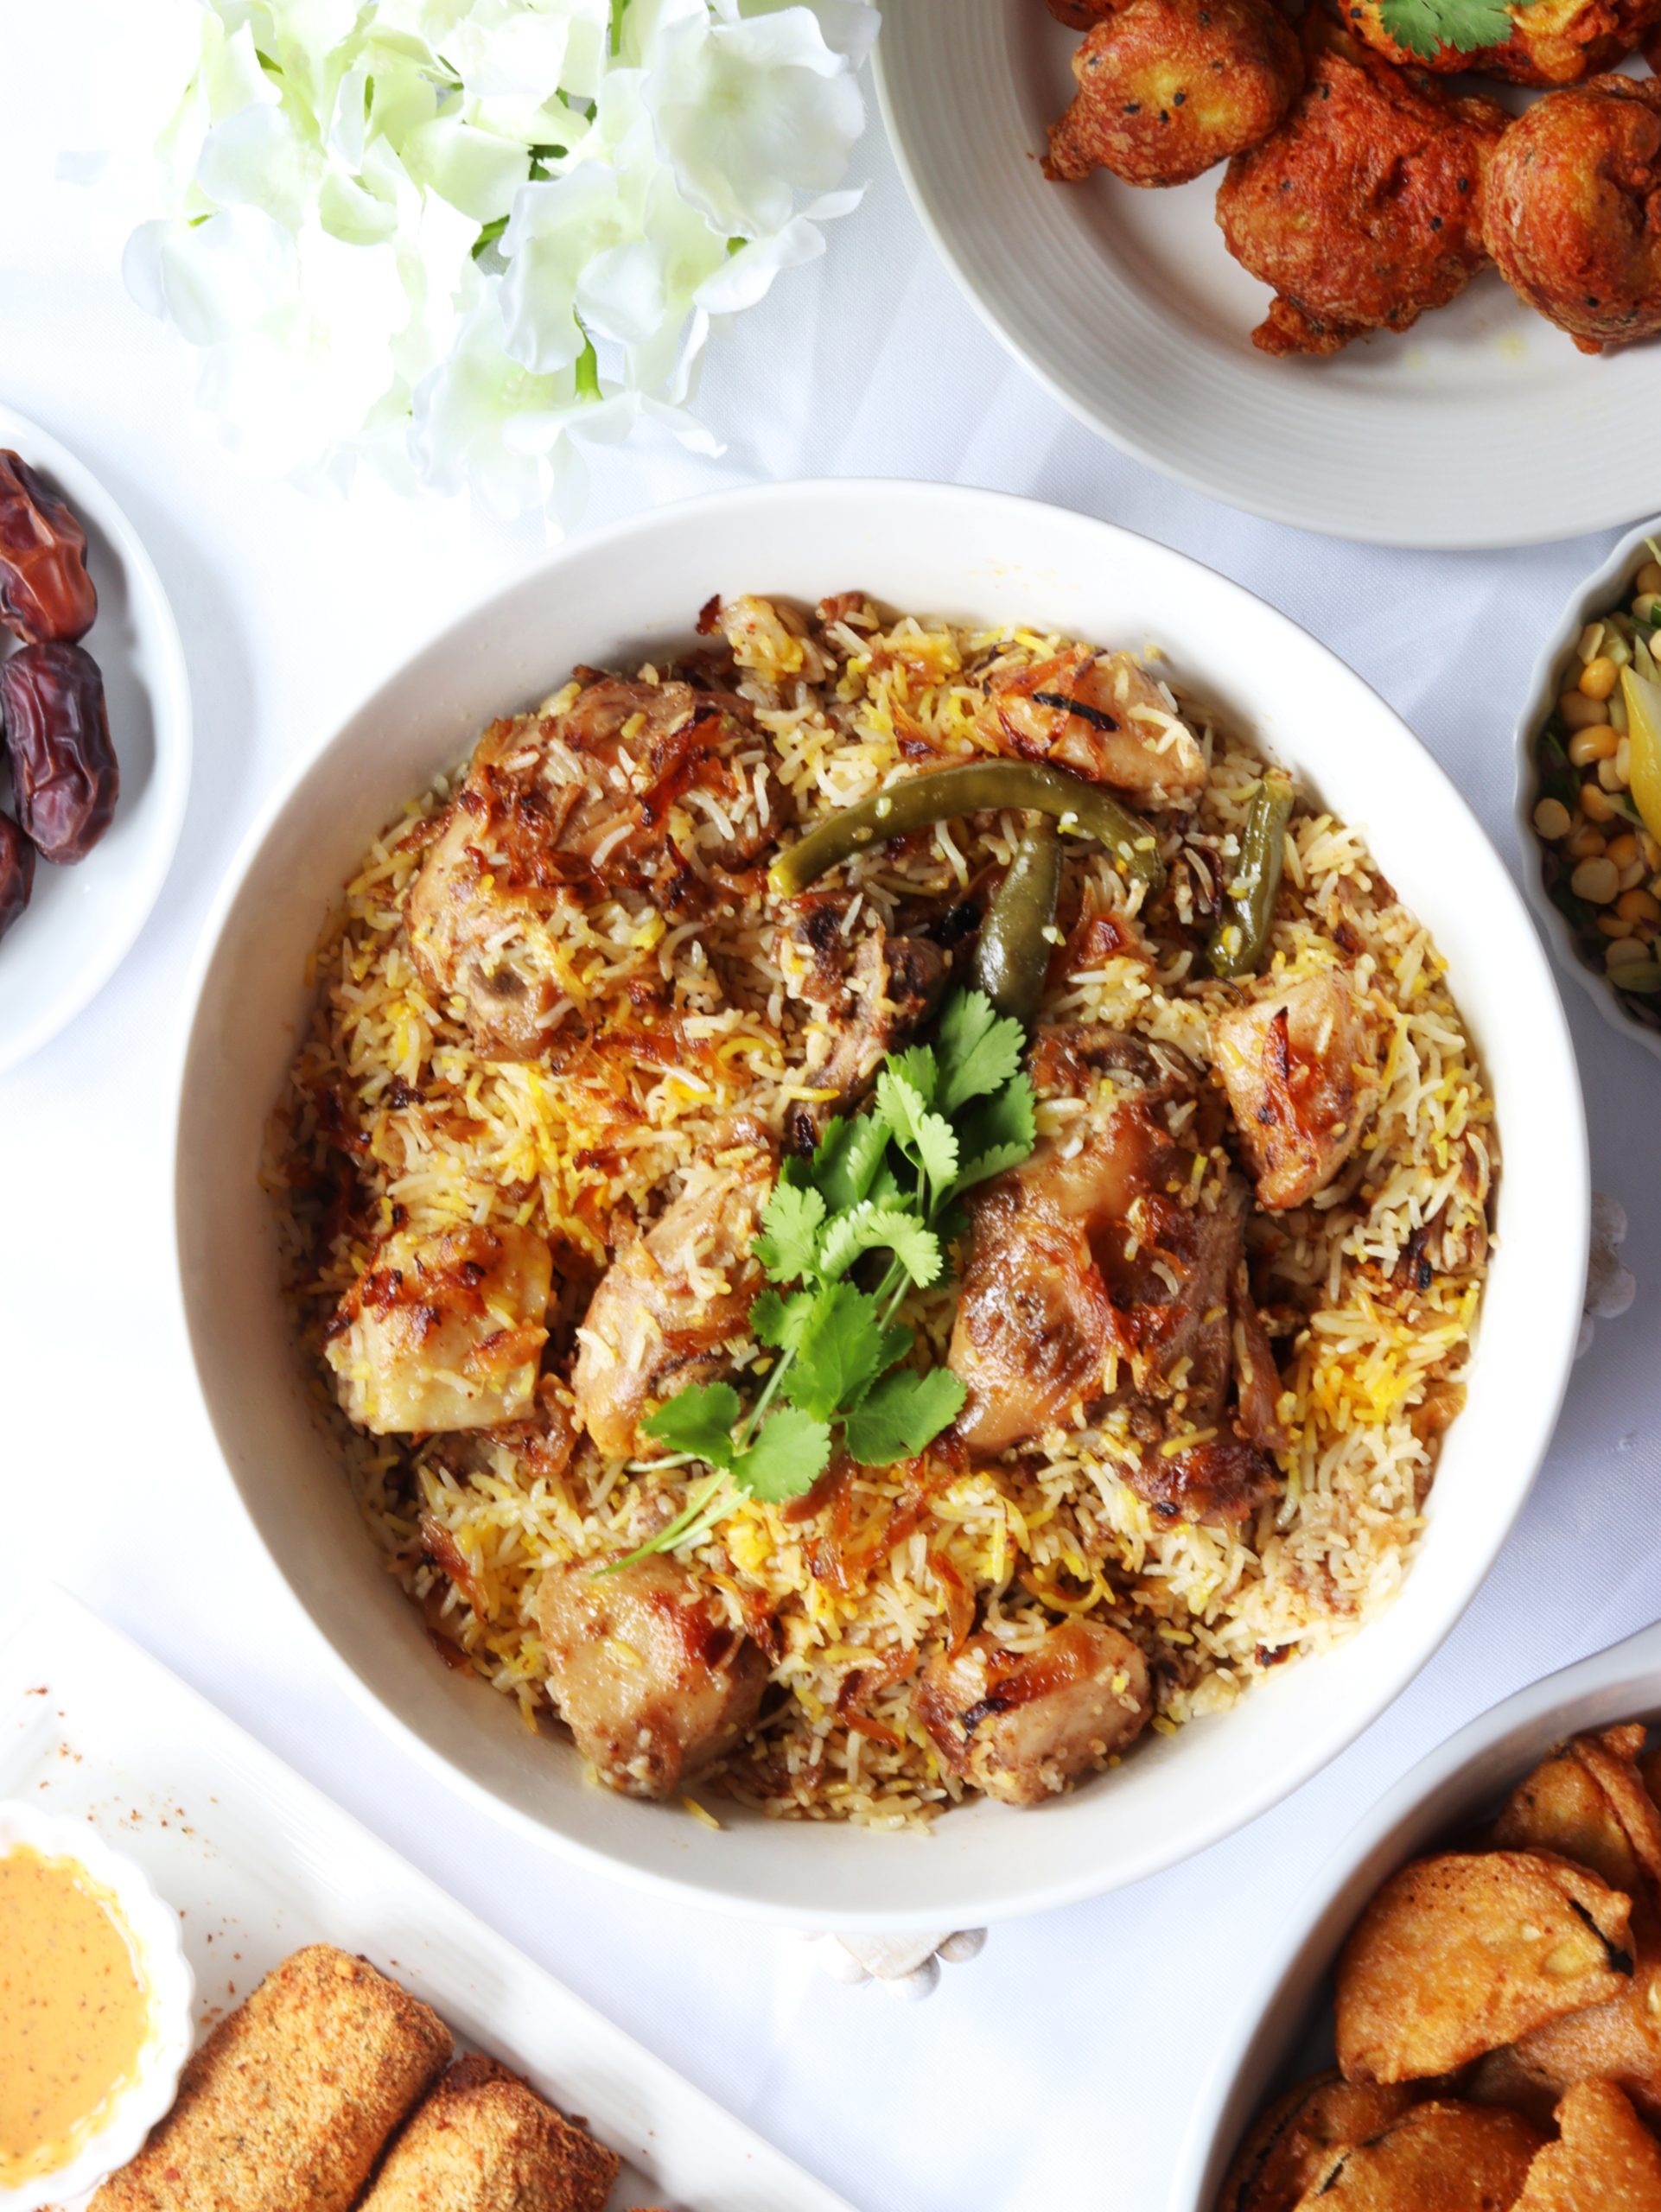
Chicken Biryani
Ingredients
Chicken:
- 3 lbs chicken legs and thighs
- 2 tbsp ginger paste
- 1 tsp garlic paste
- 1 tsp salt
- 1 tsp red chili powder
- 1 tsp garam masala
- 2 tbsp biryani masala (like Shaan brand)
- 1/2 cup yogurt
- 3 cups thinly sliced onions
- 1/2 cup oil
- 1 tbsp ghee
Potatoes:
- 3 potatoes, quartered medium sized
- 2 tbsp oil
- 1/4 tsp salt
Rice:
- 2.5 cups basmati rice long grained
- 1 tbsp salt
- 2 bay leaves
- 4 cardamom pods
- 10-12 whole black peppers
- 2 cloves
- 2 cinnamon stick pieces small
- 1/2 tsp cumin seeds
- 1 tbsp oil
- 1 tbsp ghee
Layering Ingredients:
- 9 green chilies
- 1.5 tsp kewra
- 4 tbsp ghee melted
- A pinch of saffron
- 3 tbsp hot milk
Instructions
Chicken:
- Marinate the chicken for 30 minutes with all the ingredients under “chicken” except for onions, oil, and ghee. Meanwhile, soak the rice in water also for 30 minutes.
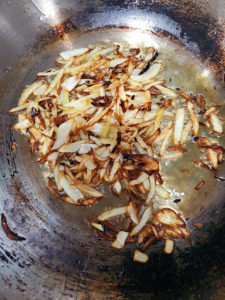
- Heat oil in a wide pot and fry the onions until golden brown and crispy. Stir frequently to avoid burning. This could take about 10-15 minutes. Then remove 2/3 of the onions and set aside.
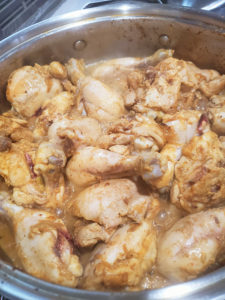
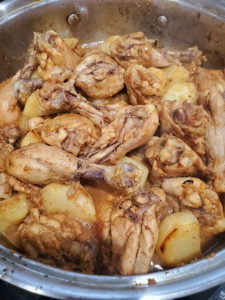
- Add marinated chicken to the pot and cook on medium/high heat for 15 minutes, stirring occasionally. Then cover, lower the heat, and cook until liquid is released from the chicken.
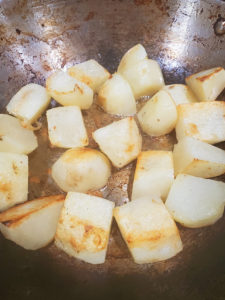
- Meanwhile, toss the potatoes with 1/4 tsp salt and fry separately in 2 tbsp oil. You should see the edges turning golden and crispy. The potatoes do not need to be cooked through at this point.
- Add the potatoes to the chicken and cook until the potatoes are cooked (but still on the firm side) and the liquid has reduced to a thick gravy. If necessary, you can add a bit of water if the masala is getting too dry and sticking to the bottom. Add 1 tbsp ghee.
Rice:
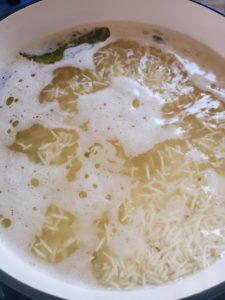
- Bring a large pot of water to boil. Add all the ingredients under “rice” except for ghee. Boil the rice for 5 minutes. Test a grain of rice by pressing it between your fingers: the inside should no longer feel hard and the grain should easily split into two.
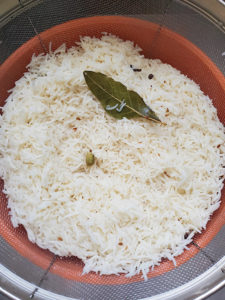
- Immediately drain the rice into a strainer. Toss with 1 tbsp ghee to avoid sticking.
Layering:
- Spray the bottom of a deep pot with oil. Make sure it has a tight fitting lid. Soak the saffron in hot milk. Preheat the oven to 350°.
- Layer the biryani like this:A. 1/3 of the riceB. 3 green chiliesC. 1/2 tsp kewra sprinkled inD. 1 tbsp melted ghee drizzled inE. 1/3 of the reserved fried onionsF. 1 tbsp saffron/hot milk drizzled inG. 1/2 of the chicken/potatoesThen repeat these steps 2 times, ending with the saffron/milk. Add an extra tbsp of ghee for good measure.
- Cover the pot and put it in the oven for 15 minutes to steam. This will allow all the layers to marry. The biryani should be hot and steamy when uncovered. Gently give the biryani a light toss to mix up the chicken and rice and also to fluff up the rice. Serve hot and enjoy!
What is Biryani?
Biryani is an iconic South Asian dish that is basically a layered rice dish. There are dozens of styles of biryani, their variety and differences stemming from specific regions of South Asia, be it Bangladesh, India, or Pakistan. Chicken is the most popular, but biryanis can also be made with goat, lamb, shrimp, fish, or vegetables. The one thing that all biryanis have in common: it is a dish of celebration, something you make on ”special” days, a treat to look forward to, a festive dish that is widely loved.
The Steps, in a Nutshell
Making biryani can sound intimidating, but it is easy to pull off once you understand the process. Here’s what to do: first, make a delicious chicken curry. Then, boil the basmati rice in spice-infused water and drain. Now that you have your chicken and rice ready, all you need to do now is layer them, with the addition of other aromatics. Once layered, the last step is to heat the biryani until steam forms, which allows all the layers to marry.
The Chicken Part
All the flavor of your biryani will come from the chicken curry you first make, so make it’s delicious! I don’t make homemade biryani masala, since this is a dish I don’t make often. I use store-bought spice blends that are super convenient to have on hand. A good way to ensure a delicious chicken curry is to sauté the chicken uncovered at first. You want the chicken to get cooked in all that good masala before it gets diluted with the liquid that gets released once you cover it. Potatoes in biryani are so scrumptious, so I would highly recommend it, but it’s one of the things you can omit if you’re trying to cut down on the work. In the end, your chicken curry should have a thick gravy, not too dry but definitely not runny. You want the rice to slowly absorb the gravy, not drown in it.
The Rice Part
The amount of water to boil the rice in does not matter, as long as there’s a lot of it in a big pot. This is because the rice will get drained. Pre-soaked basmati rice should only boil for 5 minutes in the spice-infused water. Do a quick test at this point: take a grain of rice and press it between your fingers. The center should be soft and the rice should easily split into two. Do not overboil the rice, or you will end up with mushy biryani. And let’s face it: no one likes mushy biryani. The method of draining the rice and tossing it with ghee is to ensure that the rice grains stay separated and don’t stick to each other. In Bengali, this desired result is described as ”jhor jhora”.
The Layering Part
Now that you have your chicken and rice prepared, it’s time to layer. This is the fun part! Along with the chicken and rice, we layer in other aromatics that make biryani what it is: green chilies, kewra, ghee, those fried onions we set aside earlier, and milk-soaked saffron. Some recipes call for food coloring, but why use that when you can use something natural that gives both flavor and color? A beautiful biryani has chunks of orange rice mixed in with white rice, and that’s what we achieve with the drizzles of milk-soaked saffron.
The ”Dum” Part
Once you have everything layered in a pot, it needs to be heated until steam forms inside. This is called ”dum”. The steam allows all the layer to finally get to know each other and marry. It’s important to have a tight fitting lid to make sure the steam doesn’t escape. A Dutch oven is perfect for this! In traditional recipes, dough is sometimes used to seal the edges of the lid. Or a heavy object (heat proof!) is placed on top to weigh it down. The steam must stay trapped at all costs!
Serving the Biryani
Hot out of the oven, use a light hand to gently mix up the rice and chicken a little. This also allows the rice to get fluffed up. But don’t overmix! The biryani will continue to get mixed as it’s being served. I love to eat biryani with cold raita, but salad is also a good option, along with a slice of lemon.
And Finally…
If you try this recipe don’t forget to leave a star rating and comment below. And stop by my Instagram to say hello!